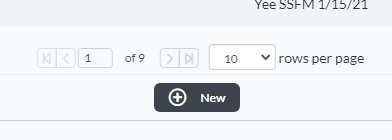
New entries can be created by clicking the New button on the service Log Page.

Click the New button from any Log Page to create a new Entry.

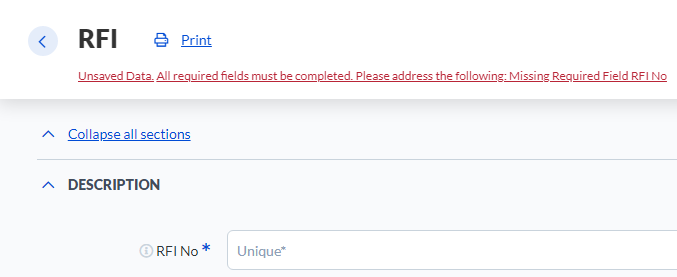
Required fields must be completed first to enable auto-save and gain access to other fields within the entry. The values of these required fields can be edited at a later time if needed. Required fields are identified with an asterisk next to the field label. The 'save' bar at the top of the entry will also list out any required fields that have not been completed.

The following are common features within each Entry.
| Number | Description |
| 1 | Returns you to the Entry Log Page. Ensure your entry has been saved (as seen by the green bar in number 4) before leaving or your data could be lost. |
| 2 | Entry Document Title |
| 3 | Print button will open a new tab and print the saved entry to pdf. |
| 4 |
Save and History bar. This bar shows the last time the Entry was saved. If this bar is red, then the entry has not been saved as the required fields have not been completed. Clicking on this bar will open the detailed History for this entry. |
| 5 | Notify Recipients checkbox, if selected, will trigger an email notification to Users as outlined in the Notification area when the Workflow dropdown is updated. |
| 6 | Workflow bar. This dropdown bar shows the different workflow options the Entry can be transitioned into. Ensure to complete all necessary fields before changing the status of an Entry as certain roles can lose Edit ability once Entries move into a new status. |
| 7 | These double chevrons allow users to scroll through the Entries without returning to the Log Page. The current filter and sort order on the Log Page will control which entry displays next. |
| 8 | Each Entry is comprised of a number of Subsections. By default, all subsections are expanded so the fields within can be completed. |
If you have any questions, or need additional assistance, please reach out to our support team at support@facsware.com and we will be happy to assist you.
